What is a Woodworking Jewelry Box and How to Make One Yourself
The emergence of handcrafted items has gained significant momentum, particularly in the realm of woodworking, where the craftsmanship of a Woodworking Jewelry Box stands out as an epitome of artistry and utility. According to a recent report by the American Craft Council, the handmade jewelry box market has seen a growth of over 15% annually, highlighting a burgeoning appreciation for personalized and artisanal products. This trend is not only reflective of a consumer desire for unique items but also signifies a revival of traditional skills in woodworking.
Renowned woodworking expert, Dr. Michael Finch, emphasizes the significance of creating such items, stating, “Crafting a Woodworking Jewelry Box is not just about functionality; it is a creative expression that allows individuals to showcase their craftsmanship.” The process of making your own woodworking jewelry box offers a rewarding experience, combining skill development with the joy of creating something uniquely yours. As more individuals seek out DIY projects, the ability to construct a beautiful and functional jewelry box is an accessible and fulfilling task that can enhance both your woodworking skills and personal space.
What is a Woodworking Jewelry Box?
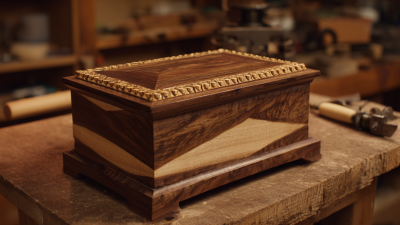
Woodworking jewelry boxes are elegantly crafted containers designed to store and display jewelry items. They often feature intricate designs, customized compartments, and high-quality finishes, reflecting a blend of functionality and artistry. According to the Craft and Hobby Association, the woodworking industry has seen a steady increase in interest, with over 25% of households in the U.S. participating in woodworking activities. This surge reflects a growing trend towards personalized and handcrafted items, making woodworking jewelry boxes an appealing project for both novice and experienced woodworkers.
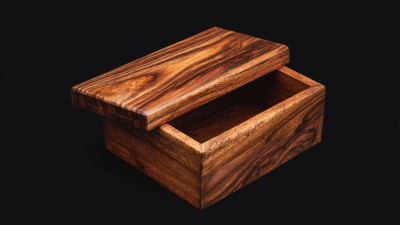
A woodworking jewelry box typically incorporates various materials, including hardwoods like oak, cherry, and walnut, which not only enhance durability but also provide a refined aesthetic. The creation of these boxes involves skills such as precision cutting, sanding, and joinery, which can significantly impact the final product's quality. The popularity of DIY projects has encouraged many to explore woodworking, with approximately 40% of hobbyists reporting that creating functional items enhances their crafting experience, according to a report from Market Research Future. Thus, a woodworking jewelry box serves not only as a practical storage solution but also as a creative outlet that embodies the maker's uniqueness and craftsmanship.
What is a Woodworking Jewelry Box?
| Dimension |
Description |
| Material |
Typically made from hardwoods like oak, maple, or cherry. |
| Size |
Commonly ranges from 8x6x4 inches to larger custom sizes. |
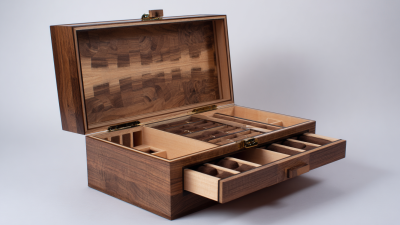
| Compartments |
Can include various sections for rings, bracelets, and necklaces. |
| Finish |
Often finished with varnish or oil for protection and gloss. |
| Design |
Can be simple or intricate, often personalized or themed. |
| Tools Needed |
Saws, chisels, sanders, and a drill for assembly. |
| Skill Level |
Beginner to intermediate, depending on the complexity of the design. |
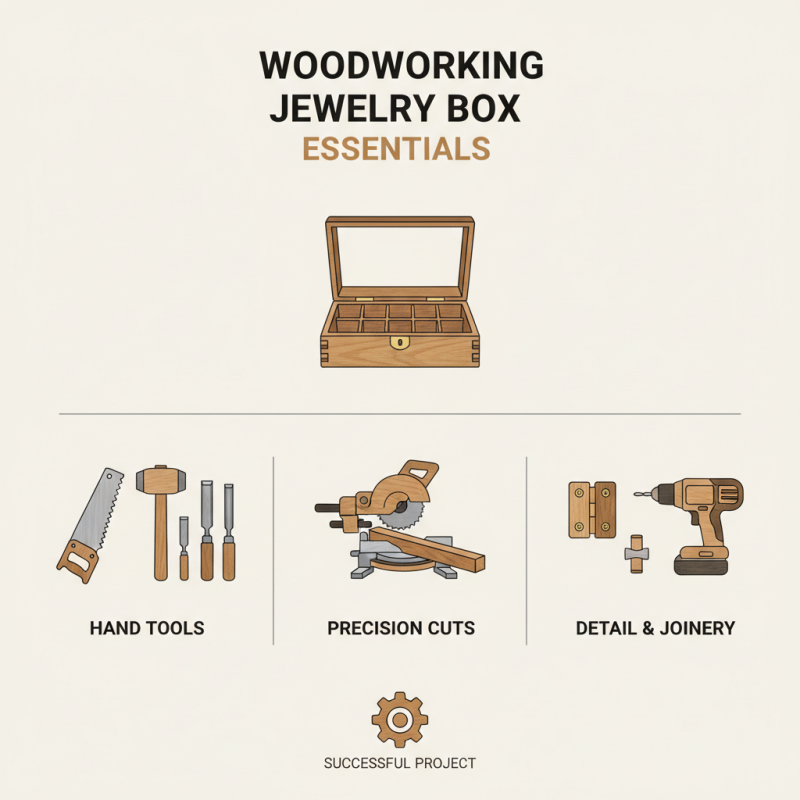
Essential Tools and Materials for Crafting a Jewelry Box
When embarking on the journey of crafting a woodworking jewelry box, having the right tools and materials is essential for a successful project. First and foremost, you will need basic hand tools such as a saw, chisel, and hammer. A miter saw is particularly useful for making precise cuts, while a chisel set allows for detailed work on the joints and inner compartments of the box. A drill will come in handy for creating any required holes for hinges or decorative elements.
In terms of materials, hardwoods like oak or walnut are highly recommended for their durability and aesthetic appeal. Plywood can also be an economical choice for the box body, ensuring stability and ease of handling. You’ll want quality wood glue to secure the joints, as well as sandpaper for smoothing out rough edges and preparing the surface for finishing. Depending on your design, you may also need decorative elements like felt for lining the inside or brass hinges for functionality. By gathering these essential tools and materials, you're well on your way to creating a beautiful and functional jewelry box.
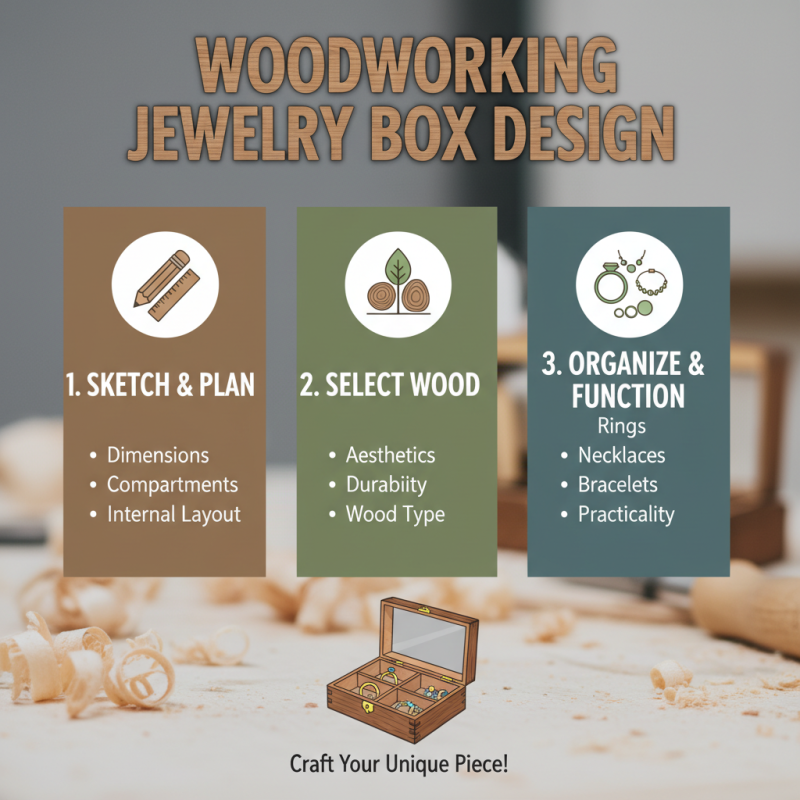
Step-by-Step Guide to Designing Your Jewelry Box
Designing a woodworking jewelry box is a rewarding project that allows you to express your creativity while crafting a functional piece. Begin by sketching your desired design, taking into account the dimensions and compartments you need for your jewelry collection. Consider the type of wood you want to use, as different varieties will contribute unique aesthetics and durability to your box. It’s essential to plan out the internal layout to effectively accommodate rings, necklaces, and bracelets, ensuring that your box is not only beautiful but also practical.
Once your design is finalized, gather the necessary tools and materials. Begin the construction by cutting the wood according to your measurements. Assemble the box by gluing and nailing or using screws for added strength, paying attention to joints for a clean finish. Sand down any rough edges to ensure a smooth surface, and then proceed to apply your chosen finish, whether it be stain, paint, or a simple clear coat to showcase the wood's natural beauty. After allowing it to dry, you can add the final touches, such as lining the interior with soft fabric to protect your jewelry and installing a secure latch. This step-by-step guide not only results in a stunning jewelry box but also provides you with valuable skills in woodworking.
Techniques for Cutting, Shaping, and Assembling Wood
Creating a woodworking jewelry box involves several techniques focused on cutting, shaping, and assembling wood effectively. Mastering these skills not only elevates the quality of your finished piece but also enhances your overall woodworking expertise. According to a report by the American Home Furnishings Alliance, the wooden furniture market is estimated to reach $45 billion by 2026, highlighting the growing interest in personalized and handcrafted items.
When cutting wood, precision is key. Using the correct saw—whether it’s a band saw or a miter saw—ensures clean edges and reduces the risk of splintering. It's advisable to always measure twice and cut once to avoid wasting valuable materials. For shaping wood, proper techniques such as sanding and routing are essential. Start with a rough sandpaper to remove major imperfections, then progressively move to finer grits for a smooth finish. This not only improves aesthetics but also prepares the surface for any finishes you may apply later.
Tips: Always wear safety gear such as goggles and masks when working with wood. Additionally, consider using clamps to secure your pieces while cutting or gluing. This ensures stability and better accuracy. Lastly, patience is crucial—allow your glue to set properly and give finishes time to cure for the best results in your woodworking projects.
Woodworking Jewelry Box Techniques: Cutting, Shaping, and Assembling
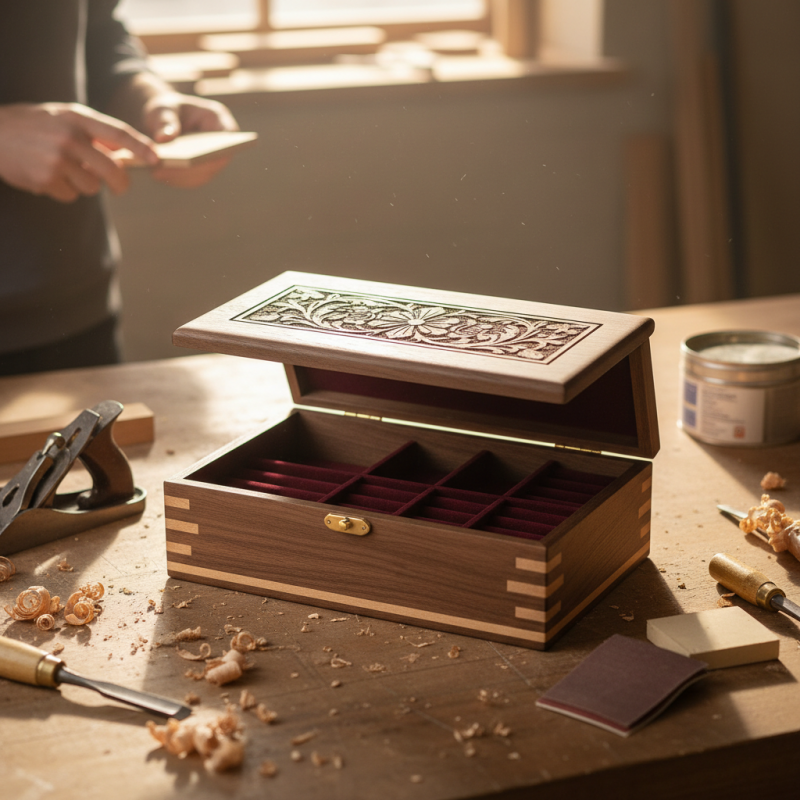
Finishing Touches: Staining and Sealing Your Jewelry Box
Finishing touches can significantly enhance the appearance and durability of your woodworking jewelry box. One of the most important aspects is staining. Staining not only adds color but also highlights the natural beauty of the wood grain. Before applying the stain, ensure that the surface is sanded smoothly and free of dust. You can choose from a variety of stains, ranging from light to dark hues, depending on the desired look for your jewelry box. Using a clean cloth or a brush, apply the stain evenly, following the grain of the wood. Allow the stain to penetrate for a few minutes before wiping off any excess to achieve a rich, even finish.
Once the stain has dried completely, sealing your jewelry box is the next crucial step. A sealant protects the wood from moisture and wear while providing a beautiful sheen. There are different types of sealants available, including oil-based finishes and water-based options. Oil-based finishes tend to provide a warmer look and are generally more durable, whereas water-based finishes dry faster and are easier to clean. Apply the sealant with a clean brush, following the same direction as the wood grain. It's often advisable to apply multiple thin coats, allowing adequate drying time between applications, to ensure robust protection for your jewelry box. The final result will be a beautifully finished piece that not only looks great but also stands the test of time.